Understanding the Mold Removal Process A Step-by-Step Guide
Mold growth in residential and commercial properties can lead to health issues and structural damage if not addressed promptly. Understanding the mold removal process is crucial for effectively managing and mitigating mold-related problems. This guide will provide a comprehensive overview of the steps involved in mold removal, helping property owners make informed decisions and maintain safe environments.
Step 1: Identifying Mold Presence
The first step in the mold removal process is to identify the presence and extent of mold in the property. It is essential to conduct a thorough inspection to determine the affected areas.
- Conduct a visual inspection for visible signs of mold.
- Use moisture meters to detect dampness in walls and ceilings.
- Consider professional mold testing for an accurate assessment. Read more about this topic.
Step 2: Containment of Mold Spread
Preventing the spread of mold to unaffected areas is a critical component of the mold removal process. Containment strategies are implemented to isolate moldy areas from other parts of the property.
- Seal off affected areas using plastic sheeting and tape.
- Use negative air pressure machines to contain mold spores.
- Restrict access to contaminated zones to minimize cross-contamination.
Explore further insights here.
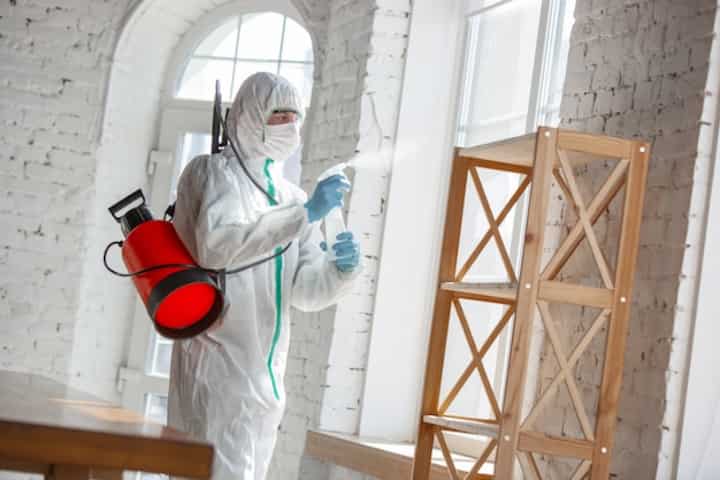
Step 3: Mold Removal and Cleaning
The next step involves the actual removal and cleaning of mold-affected materials. This must be done with precision and care to ensure complete eradication.
- Remove and discard porous materials that have been extensively damaged by mold.
- Use specialized cleaning agents to eliminate mold from non-porous surfaces.
- Employ HEPA vacuuming to capture residual mold spores.
For a detailed guide on mold removal techniques, learn more in this detailed guide.
Step 3.1: Post-Removal Cleaning
After removal, thorough cleaning is essential to prevent mold recurrence and ensure a healthy environment.
- Clean all exposed surfaces with antimicrobial solutions.
- Address moisture issues to prevent future mold growth.
Step 4: Restoration and Repairs
Following mold removal, repairs and restoration are necessary to return the property to its original condition.
- Repair or replace damaged structural elements.
- Repaint and refinish affected surfaces to restore aesthetics.
- Consider implementing mold-resistant materials for future prevention. Find additional information here.
Step 5: Verification and Prevention
Verification ensures the mold removal process was successful, and preventive measures are critical to avoid future issues.
- Conduct follow-up inspections to confirm mold eradication.
- Install proper ventilation systems to reduce humidity.
- Maintain regular maintenance checks to catch potential problems early.
Check out customer reviews here for personal experiences with mold removal processes.
Understanding and following the mold removal process is essential for ensuring a safe and mold-free environment. By taking proactive steps and seeking professional assistance when necessary, property owners can effectively manage mold problems and maintain the integrity of their spaces.